Natural Gas Set Up for the
Brand-Man Rustler2 Gas Grills
IMPORTANT NOTE: These photos and instructions are for additional reference only for the Brand-Man Natural Gas Conversion Kit. Please refer to the manual provided in the kit for step-by-step instructions, including safety precautions.
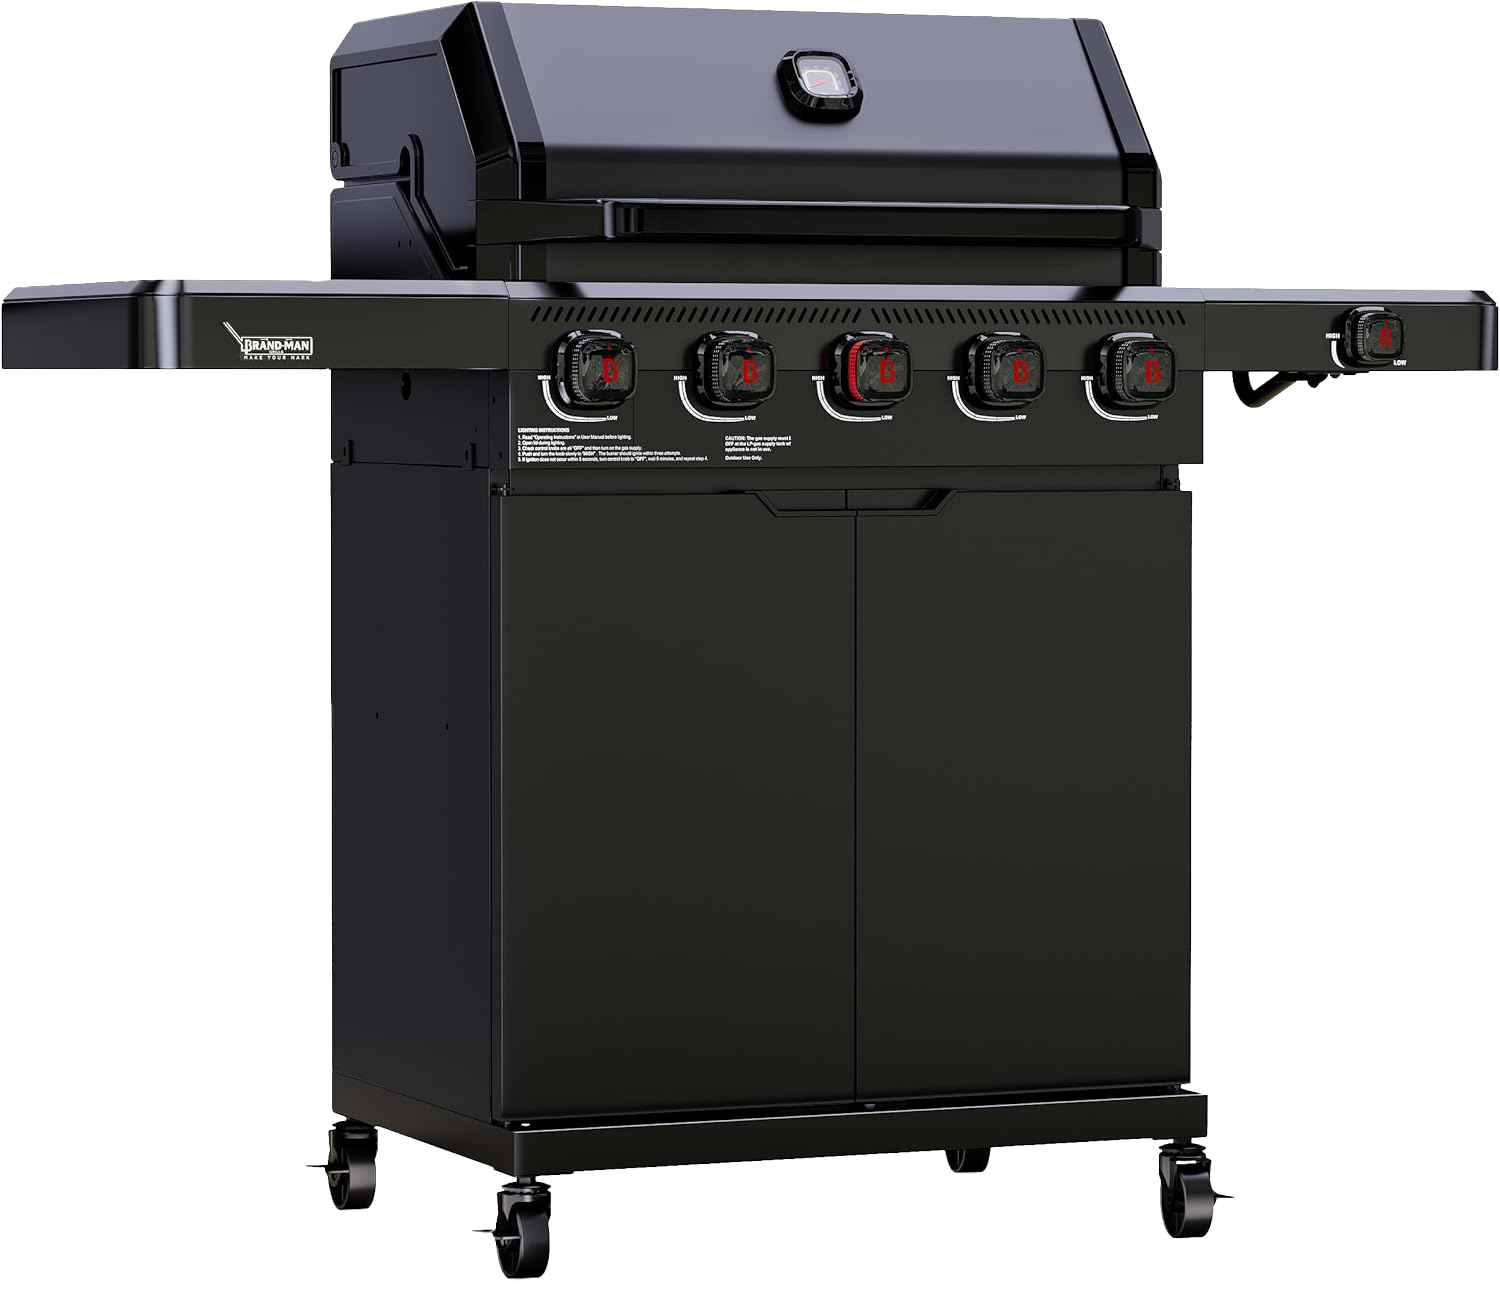
To start, remove all the grates and heat shields as well as the side burner gas tube (4 and 6 burner models) to get access to the gas injector.
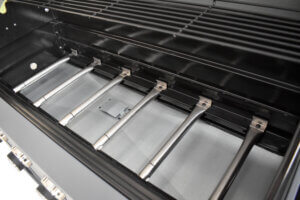
Then remove all the burner tubes by taking out the cotter pin that holds them in place. Then lift out the burners from the back while pulling them out from the holes where the injectors are set in.
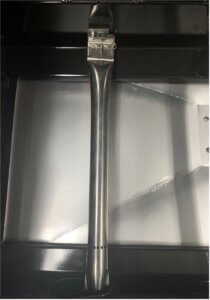
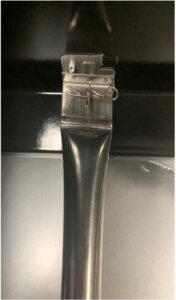
Inside the holes where the burner tubes slot into are the gas injectors (orifices). The Rustler grills have two (2) stage orifices, and the propane (LP) injectors are ahead of the natural gas (NG) injectors. Those are the only injectors to take out when converting to use natural gas. There will be one for each burner, including the side burner if your model has that.
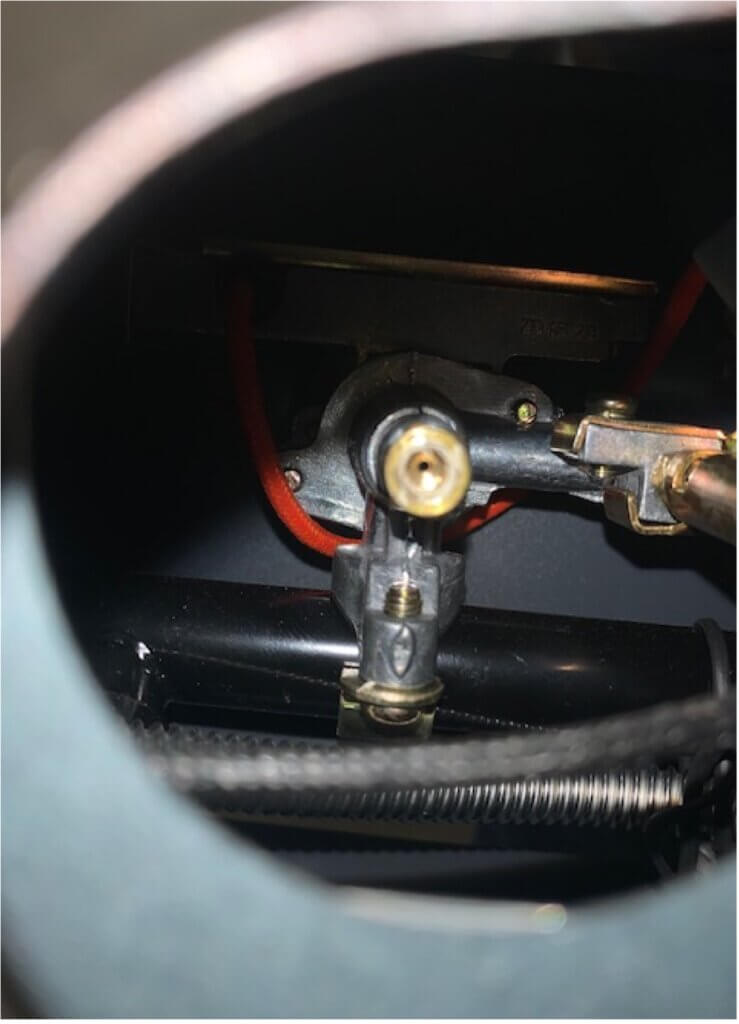
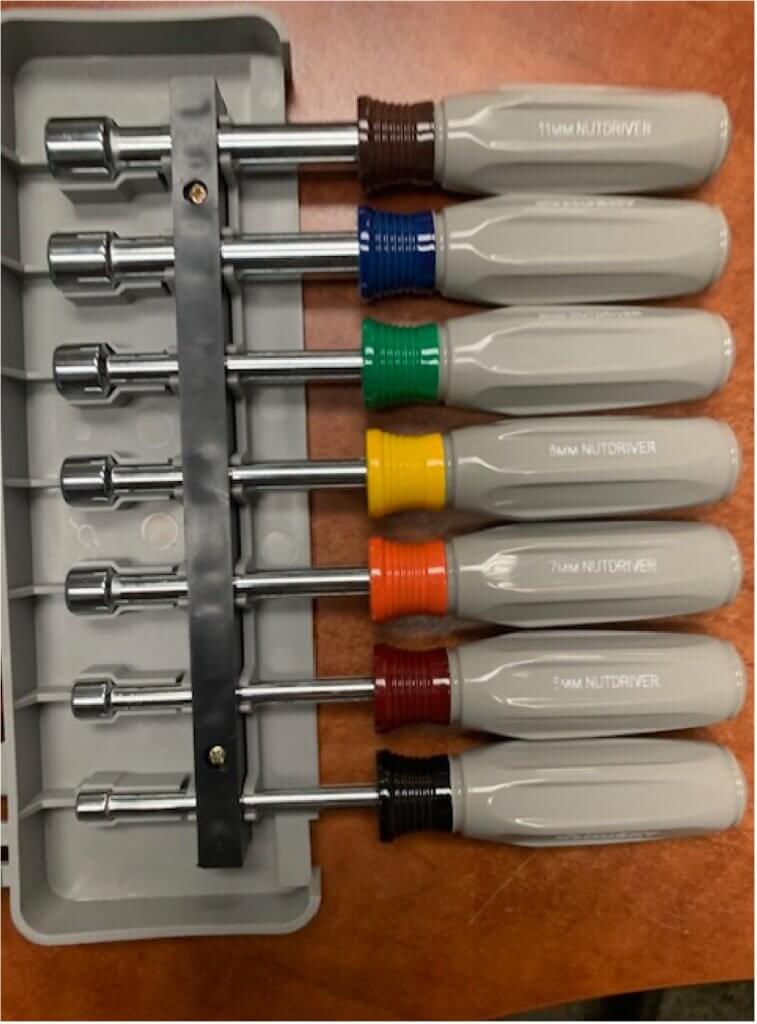
The LP injectors are 6mm in size, so you will need a 6mm socket driver (also called “hex” or “nut driver”) to back those out. These work best because you can more easily slot them over the injector to the right depth. You may also a ratchet driver with an extension shaft and a 6mm fitting.
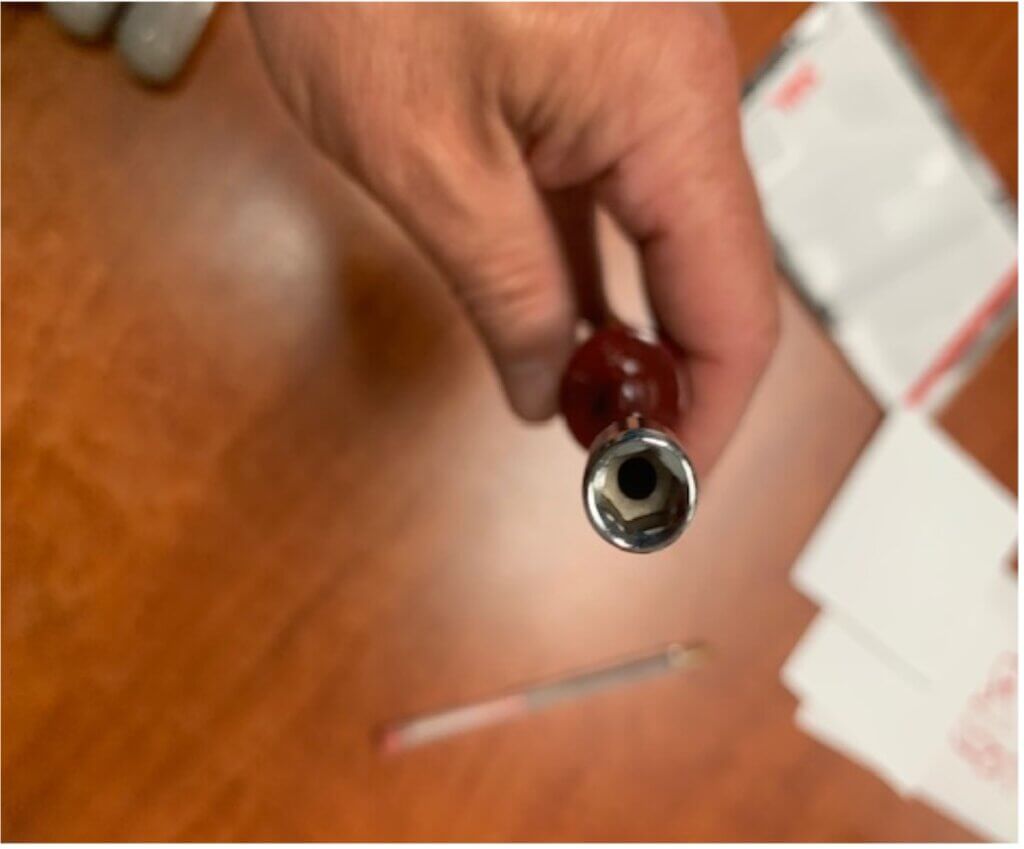
Below is a socket driver set and the 6mm driver.
To take the LP injectors out, fit the socket snugly over them and turn slowly counterclockwise (or to the right) to back them out. They have a bit of adhesive around them to form a seal, but they do come out easily with a slow, steady force.
The larger 10mm NG injector remains in place behind it. If for some reason that comes out as well, you will have to unscrew it from the LP injector and then carefully screw it back into the gas outlet by turning clockwise until it is fully tightened. Use a 10mm socket driver to do this. (That is why you may want to buy the complete hex driver set!) Do this for every grill burner and the side burner as well if you have one on your model.
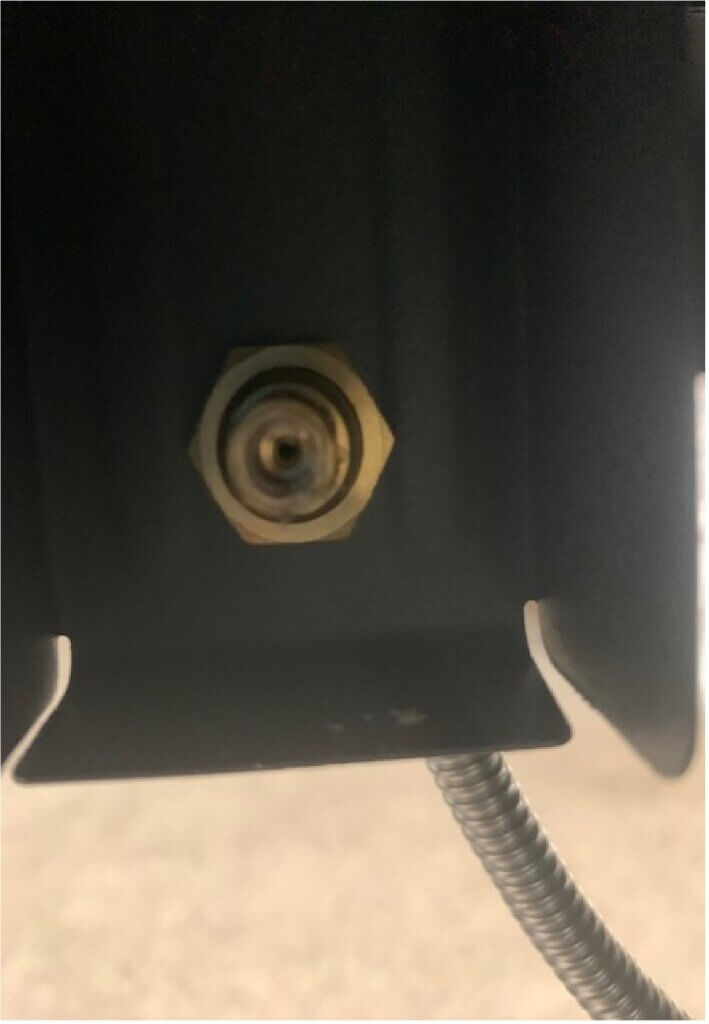
Side burner injector located at the front and under the shelf.
The side burner injector is easier to remove because you can get a better look at it. You
may want to do this first so you can see the process better.
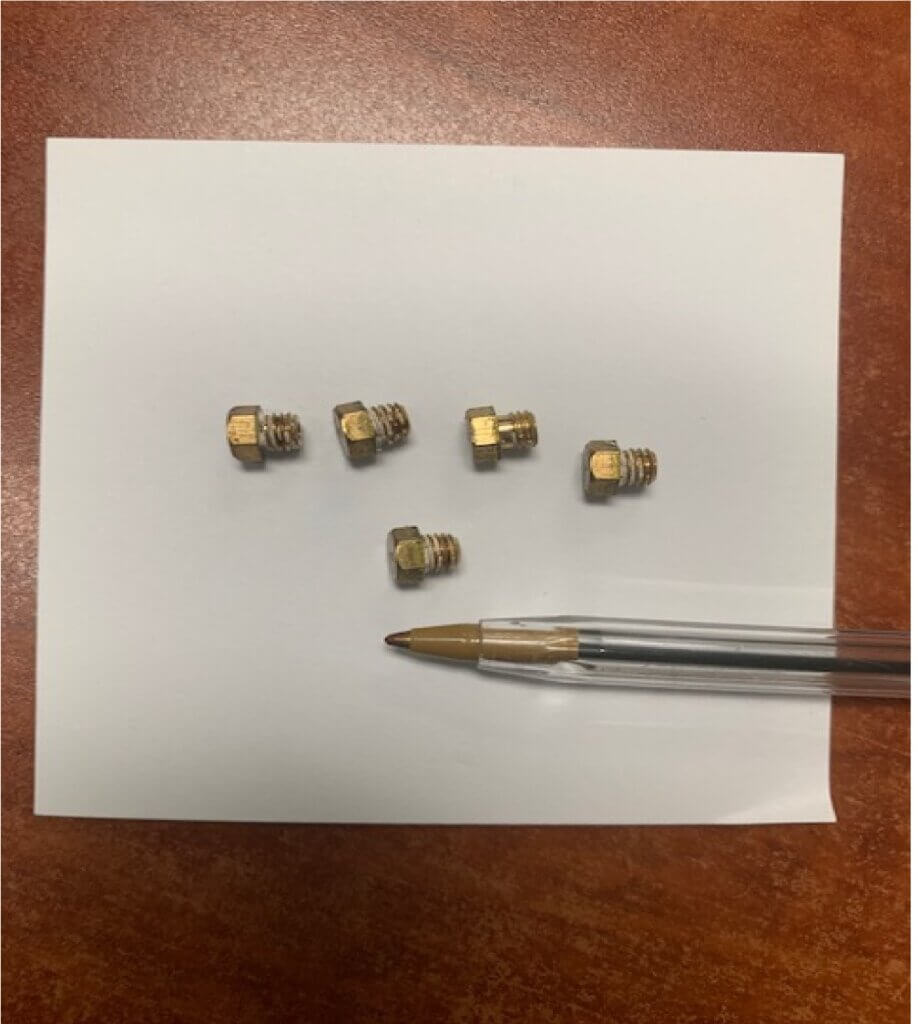
Below is what the LP injectors look like when they are removed, they are quite small.
Once you have done all of this you can then hook up your natural gas lines into the grill. Follow the instructions in the manual by first removing the LP gas hose and regulator. The connection to the burner gas assembly is up under and behind the gas knobs on the right side.
Below are photos of the hose and the quick-connect coupler end that connects to your natural gas outlet pipe.
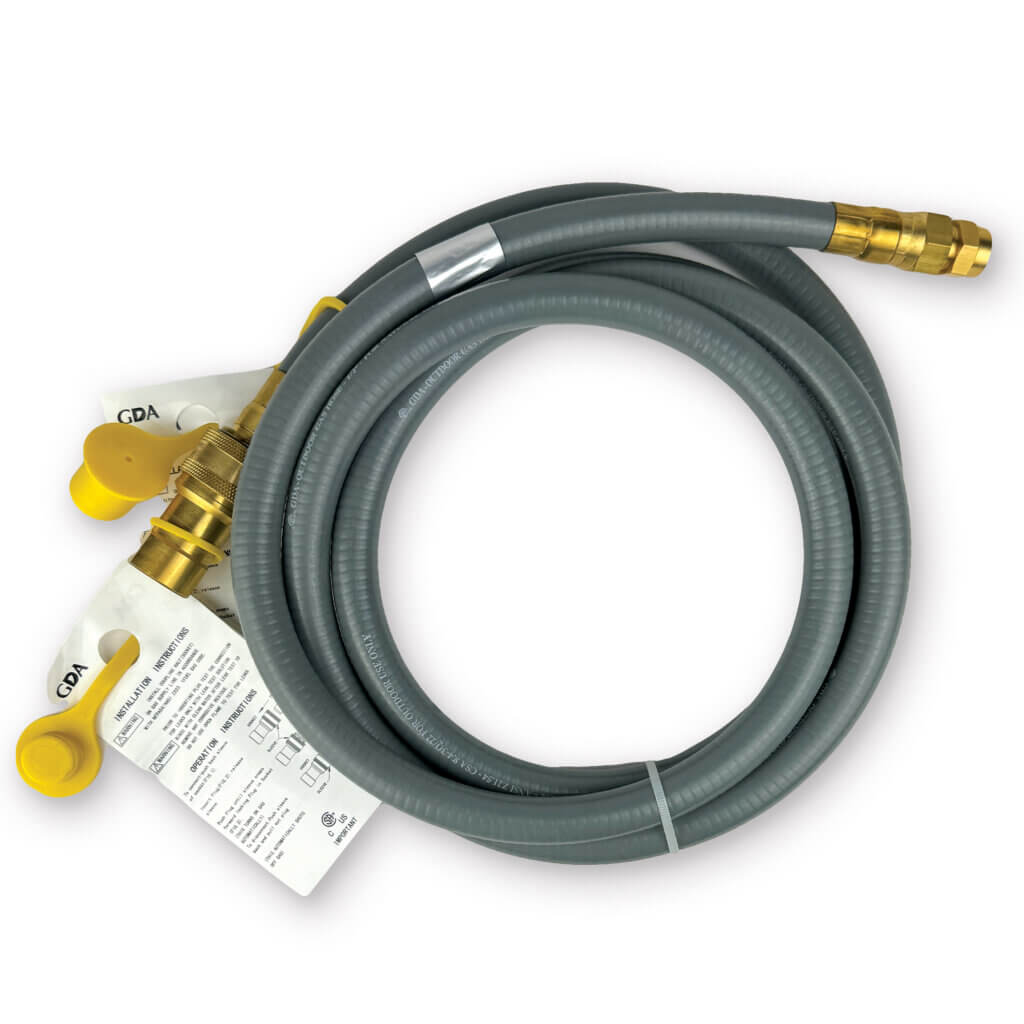
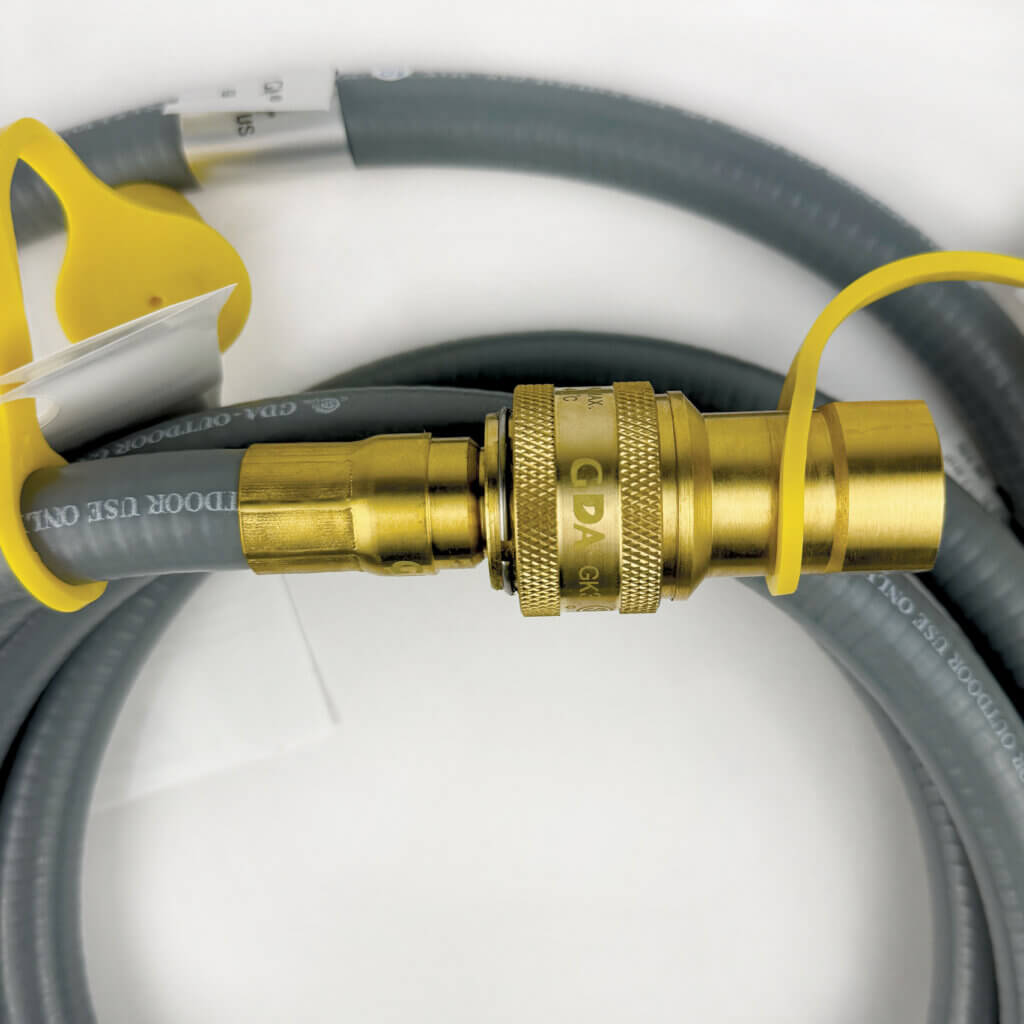
IMPORTANT NOTE: If you are uncertain on how to connect to your gas line call a professional or your gas company. There needs be an external shut-off valve on the outgoing gas line where the hose will connect into. If that is not installed, call a professional to have that put on. The valve needs to be closed prior to connecting the gas hose line to your grill.
Please read all operating and safety instructions in the manual prior to turning on the gas.
